A global home for tap dancers & teachers who want to learn, grow,
& have more fun in tap class
Unlock your tap dance joy through inspiring tutorials, structured teacher training, and a community that feels like tap family.

A global home for tap dancers & teachers who want to learn, grow,
& have more fun in tap class
Unlock your tap dance joy through inspiring tutorials, structured teacher training, and a community that feels like tap family.
A global home for tap dancers & teachers who want to learn, grow,
& have more fun in tap class
Unlock your tap dance joy through inspiring tutorials, structured teacher training, and a community that feels like tap family.


Hey there, tap dancer
Hey there, tap dancer
This is where tap dance culture comes alive online!
Whether you’re striving to be the best teacher for your students or simply nurturing your own love of the art form, you’ve found your tap dance home.
For too long, access to quality tap dance education has been limited by geography and cost.
Not anymore.
iTapOnline brings the rhythm, stories, and oral tradition of authentic tap dance straight to you through the power of the internet.
Together, we can bridge the gap between tap dance’s rich history and the digital world, making sure this art form thrives in every corner of the globe.
Unlock my best tap class tips and tricks
Unlock my best tap class tips and tricks
Get my famous (almost daily) tap class tips, straight to your inbox
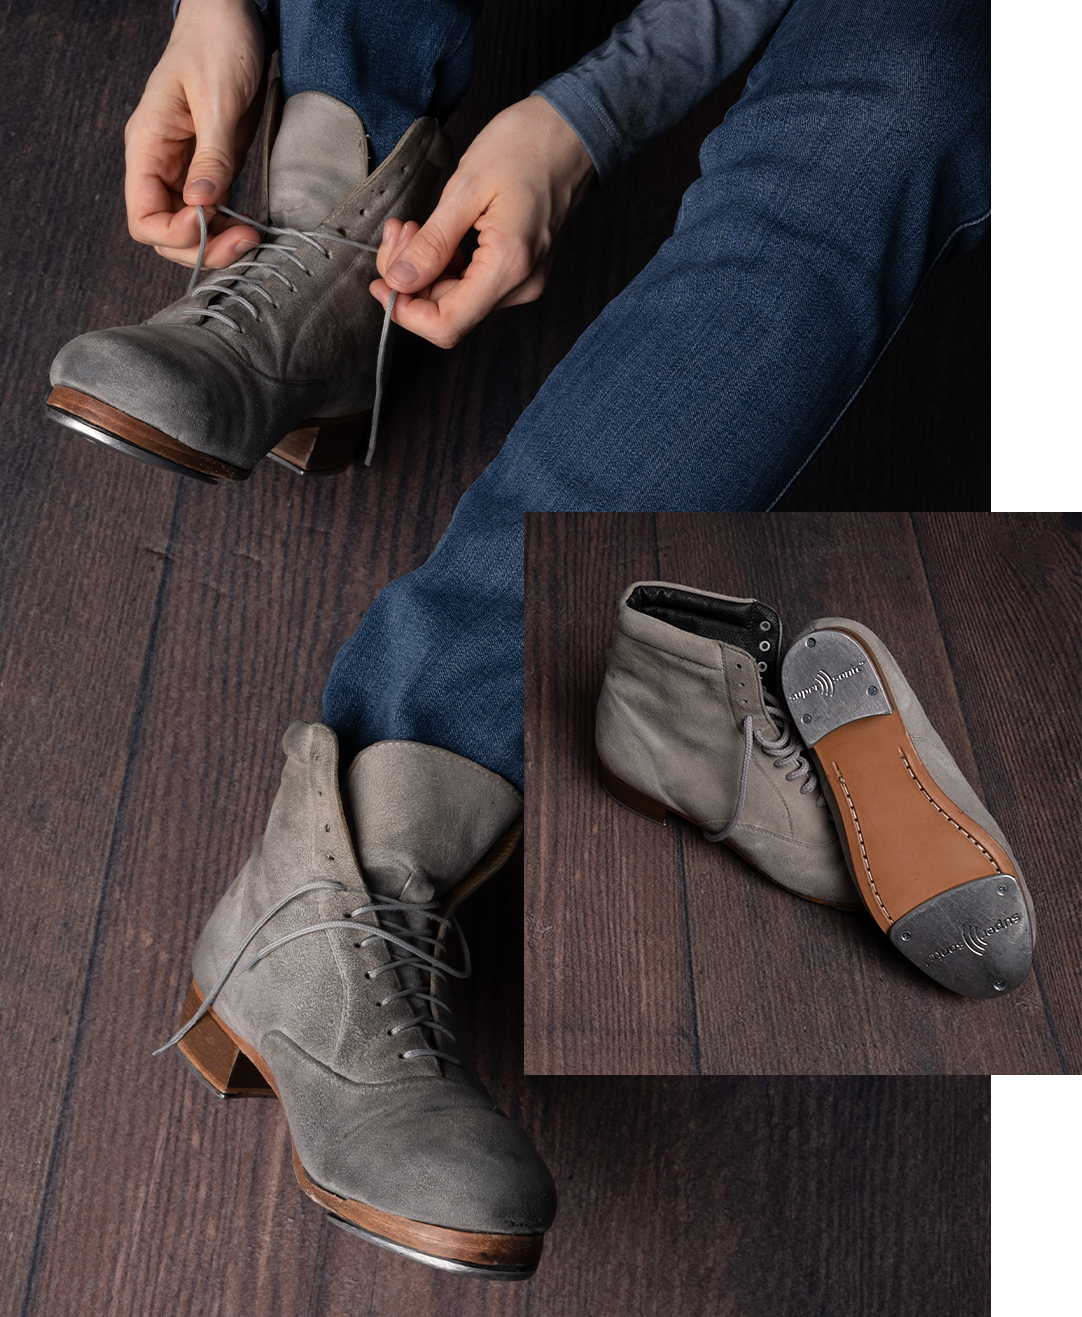
The 5 Fundamentals Of Tap Dance™
Everything I teach is built on what I like to call the
5 Fundamentals of Tap Dance. In no particular order:
Everything I teach is built on what I like to call the 5 Fundamentals of Tap Dance. In no particular order:
01
Technique
Develop clarity, control, and consistency in your sound, movement, and execution to build a strong technical foundation.
02
Music Theory
Deepen your relationship with the music so you can dance with purpose and precision.
03
History & Culture
Honor the roots of tap dance by learning the stories and celebrating the legends that shaped it.
04
Improvisation
Find your rhythm, confidence, and voice through self-expression and spontaneous creativity.
05
Practical Application
Integrating all the fundamentals into teaching, choreography, and performance to build confident, well-rounded tap dancers.

02
Music Theory
Deepen your relationship with the music so you can dance with purpose and precision.
03
History & Culture
Honor the roots of tap dance by learning the stories and celebrating the legends that shaped it.

04
Improvisation
Find your rhythm, confidence, and voice through self-expression and spontaneous creativity.
05
Practical Application
Integrating all the fundamentals into teaching, choreography, and performance to build confident, well-rounded tap dancers.
Who This Is For
This is for you if you’re a passionate tap teacher who wants to:
Be the best teacher you can be so your students love tap dance, inside and out
Build a strong, thriving tap program that inspires and excites your students
Lead and teach your local tap community with authenticity, clarity, and joy
Get unstuck and level up with trustworthy, high-quality education you can access anytime, anywhere
It’s also for you if you’re an adult tap dancer who:
Loves practicing from home and wants structure, inspiration, and accountability in your tap dance journey
Wants to deepen your understanding of the art form and grow with clarity and confidence
Is ready to explore your own rhythm, creativity, and voice in tap dance
Craves real mentorship, meaningful feedback, and a supportive community to learn alongside
Wherever you are in your tap dance journey
You have a home here.
You have a home here.
What’s Available
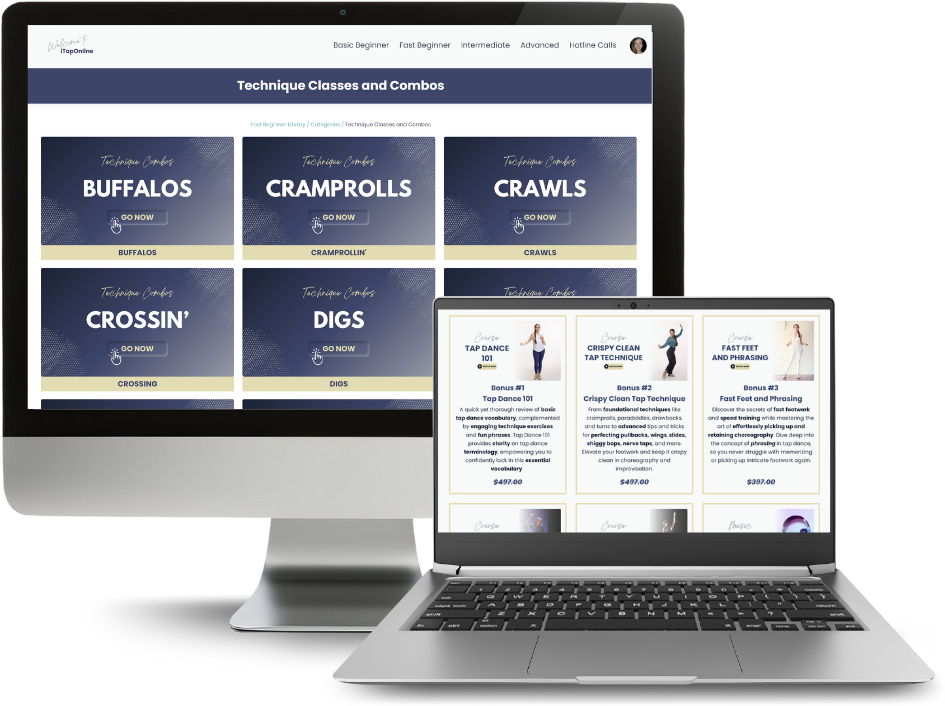
The iTapOnline
Studio
Your 24/7 access to an ever-growing library of tap dance classes, courses, and challenges designed for every level, from basic beginner to advanced.
Learn at your own pace, stay inspired, and keep growing through the 5 Fundamentals of Tap Dance.
Your 24/7 access to an
ever-growing library of tap dance classes, courses, and challenges designed for every level, from basic beginner to advanced.
Learn at your own pace, stay inspired, and keep growing through the 5 Fundamentals of Tap Dance.
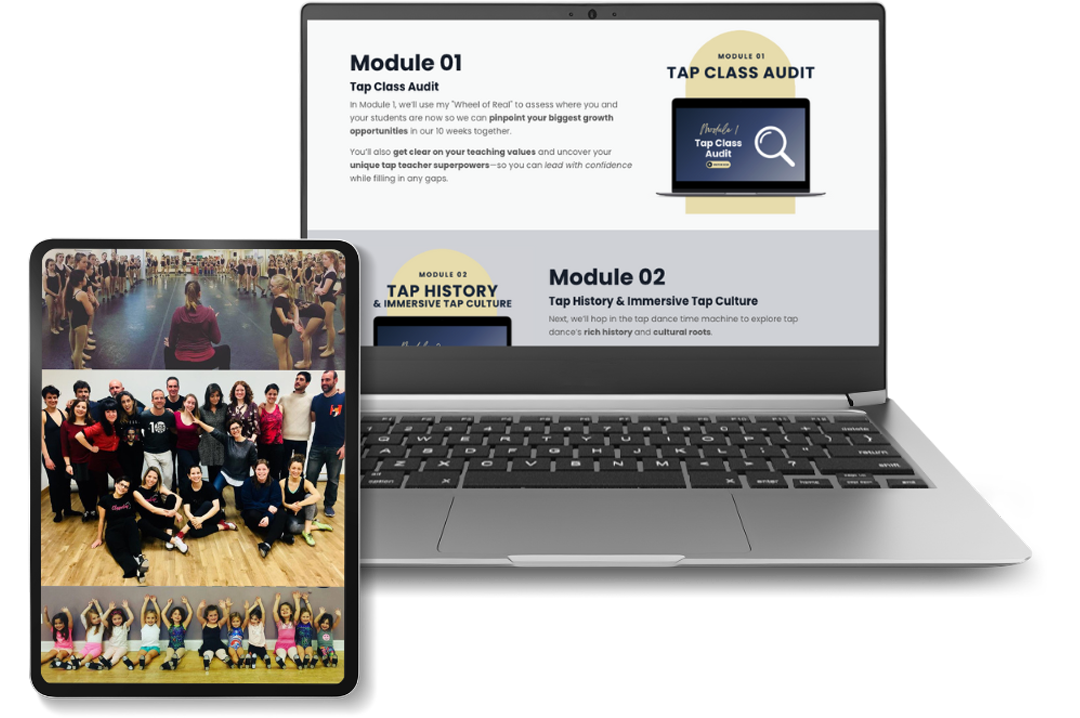
The iTap Teacher (Certificate)
Program
A 10-week, guided tap teacher training program that gives you the tools, structure, and confidence to guide your students.
Through my Fundamental Fusion Approach, you’ll gain the skills to lead with authenticity and connect with a worldwide community of passionate tap teachers.
The iTap Teacher
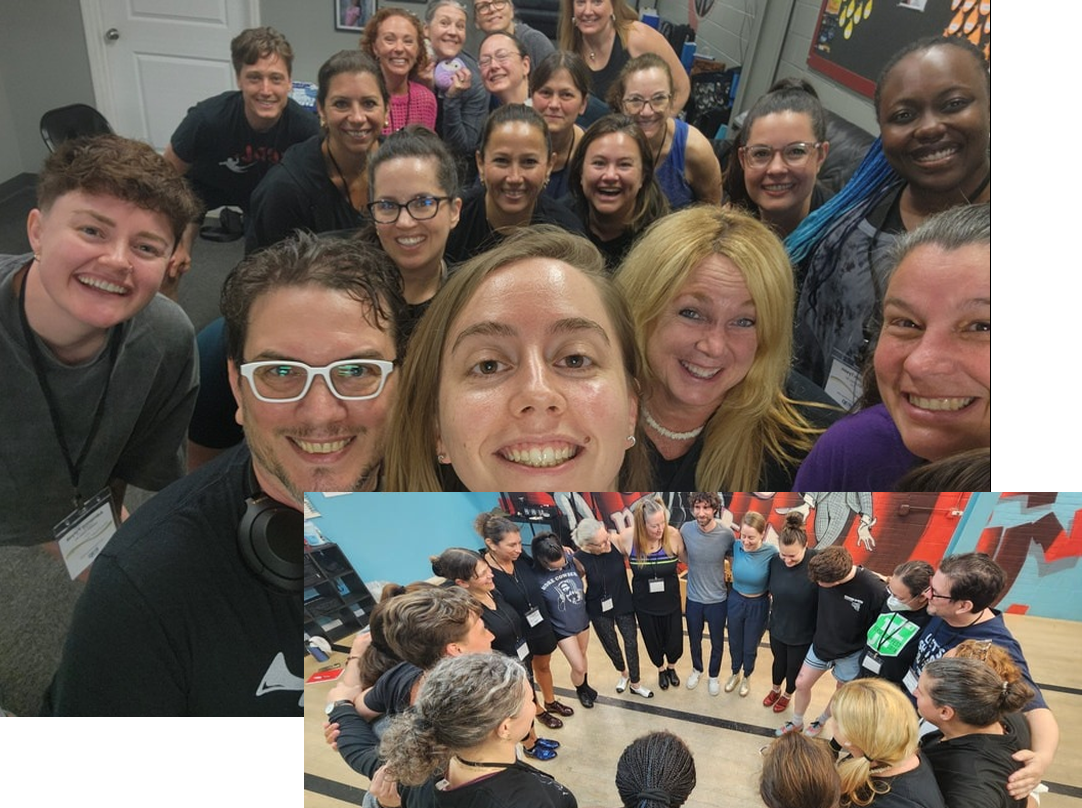
Retreat
A rare, in-studio gathering created just for iTap Teacher Certificate Program graduates who want to connect, learn, and grow in person.
Experience live music in the classroom, creative collaboration, and the joy of sharing shuffles together, bringing everything you’ve learned at iTapOnline to life.
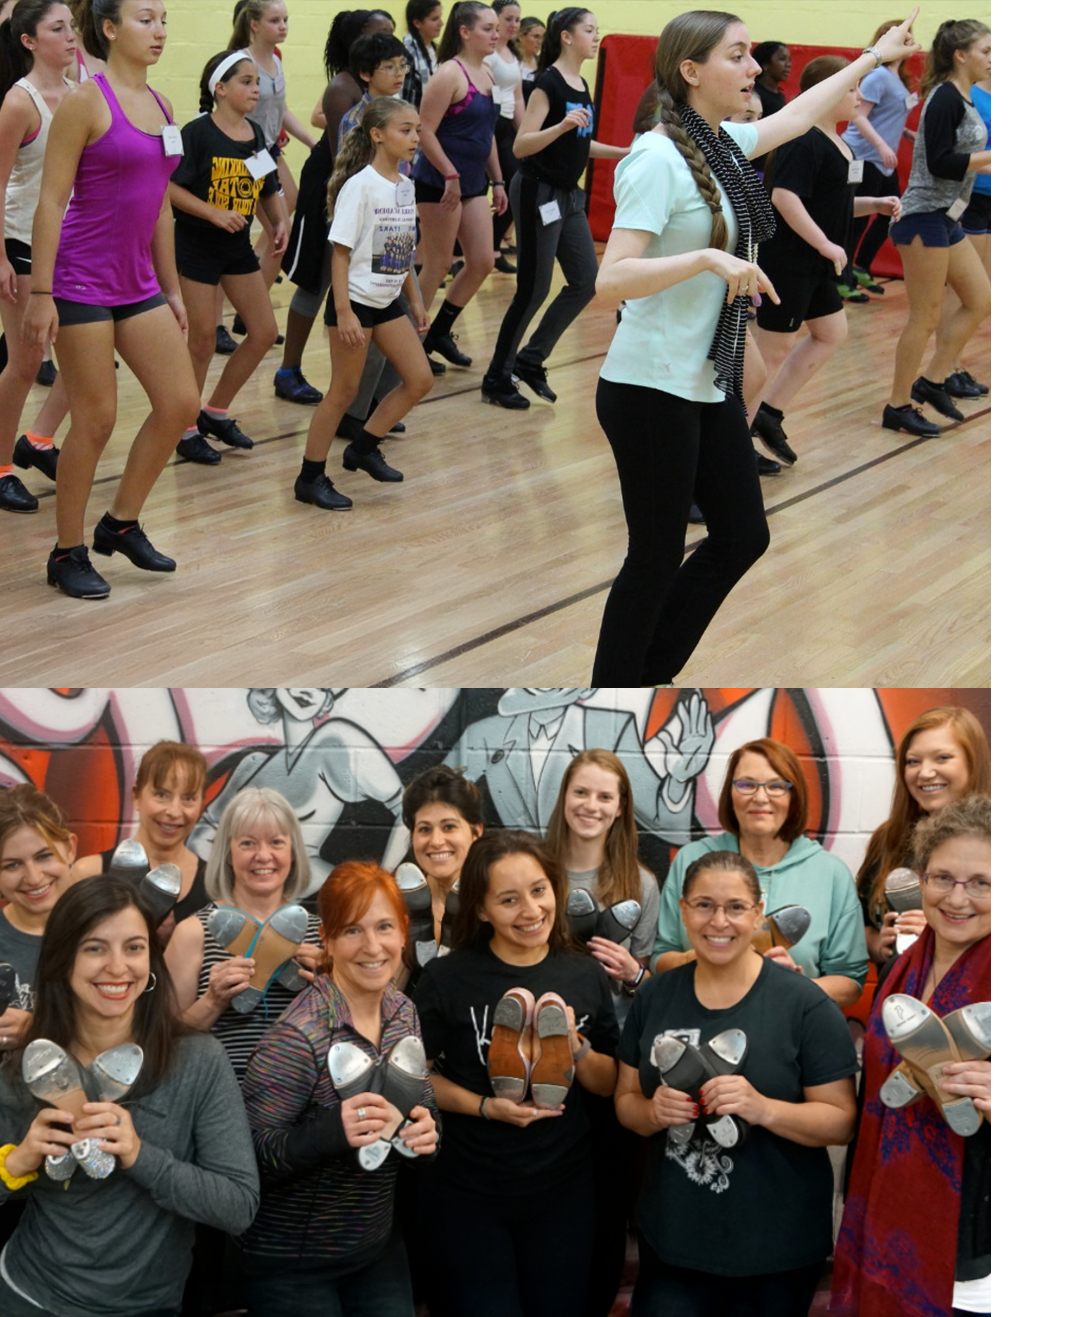
Trusted By Hundreds Of Fellow Tap Dancers
Cannot say enough about Hillary-Marie's Tap program. Thought I was doing something for myself by signing up but realize the gift will truly be given to my students as I pass on this info.

You really got me on historical steps. Even just commonly used combinations. It is so satisfying to watch postings of dances from movies or performances and realize you recognize the steps! Thanks for all you do!

Did anyone else get emotional when they took some time for themselves to improv?! I can honestly say it has been more than 10 years since I have danced for myself. The part of the course was what I was most worried about because I've always been so self conscious, but the exercises helped so much more than just turning on the music and feeling like I had to perform a fast-paced super technical routine off the top of my head. I started with the Freedom of Musicality exercises with heels only, then toe drops, etc. and moved on from there. I definitely have a lot to work on (working on clean transitions today), but I have so many more tools now and I think a confident teacher will help make confident students.

Love the theme you have announced! Really looking forward to learning more of the history of tap and the steps that have been around for so long. I really appreciate that you incorporate that into your teaching.

I have taken 2 of your classes. One on riffs and one on Tacky Annie's. I enjoyed both. I also really like your warm-ups. My last teacher has really slowed down over the past year and repeated combinations that I already knew. The rest of the class was not as sure. The day and time of the class was so convenient for me - I didn't look for a better class. I quit his class twice. So now I am in yours. And so far so good! Thank you!

I am absolutely LOVING these! Thank you for creating such a vast learning experience for us!

I am loving the classes. Prior to the pandemic I had a dance studio locally that I took tap classes with each week. They have since closed down and have chosen not to reopen. I tried another studio I found that was a bit further out from where I live and it was just not a match. The instructor had the teaching philosophy of "figure it out" and would get frustrated if I asked her to repeat a combination slower and/or with counts. So...then I was feeling quite lost on how to continue learning and growing and then...you! I love your breakdowns. I am challenged, but your explanations and repetition plus the ability to re-watch and/or slow the playback is truly wonderful. I am incredibly thankful that you offer this online tap program. I especially love the added elements such as the Timestep Tuesdays.

Every class is like Christmas. I love the happiness that's in the air.

I am so grateful for how you have revitalized my own classes and approach to teaching (teaching philosophy!!!), and it's positively impacting the other teachers at our studio as well.

Hello Hillary-Marie, Let me first take a moment to THANK YOU, so much, for your dedication and commitment to your fellow Tap teachers and educators. Your insights, skills, and energy are so appreciated.

Where to begin?!?! You don't know what you don't know and seeing how much I didn't know as a dancer and teacher was eye opening. Tap history is so rich and at times painful to learn about but so very important to the art along with the other fundamentals of tap dance. Hillary-Marie changed not only my dancing, but brought my teaching to a whole other level. Her vision, her constant additions to the site, her accessibility are so valuable. The itaponline site is a place to go to for everything tap and knowing it's there to explore when even 5 minutes comes available in the day is wonderful. I'm forever grateful to Hillary-Marie Tap for enriching my tap life and for the friends I've made along the way. Priceless.

Shout out to Hillary-Marie for sharing her amazing gifts with students AND teachers and for being so generous with her time and talents.

Connect with us!
Connect With Us!
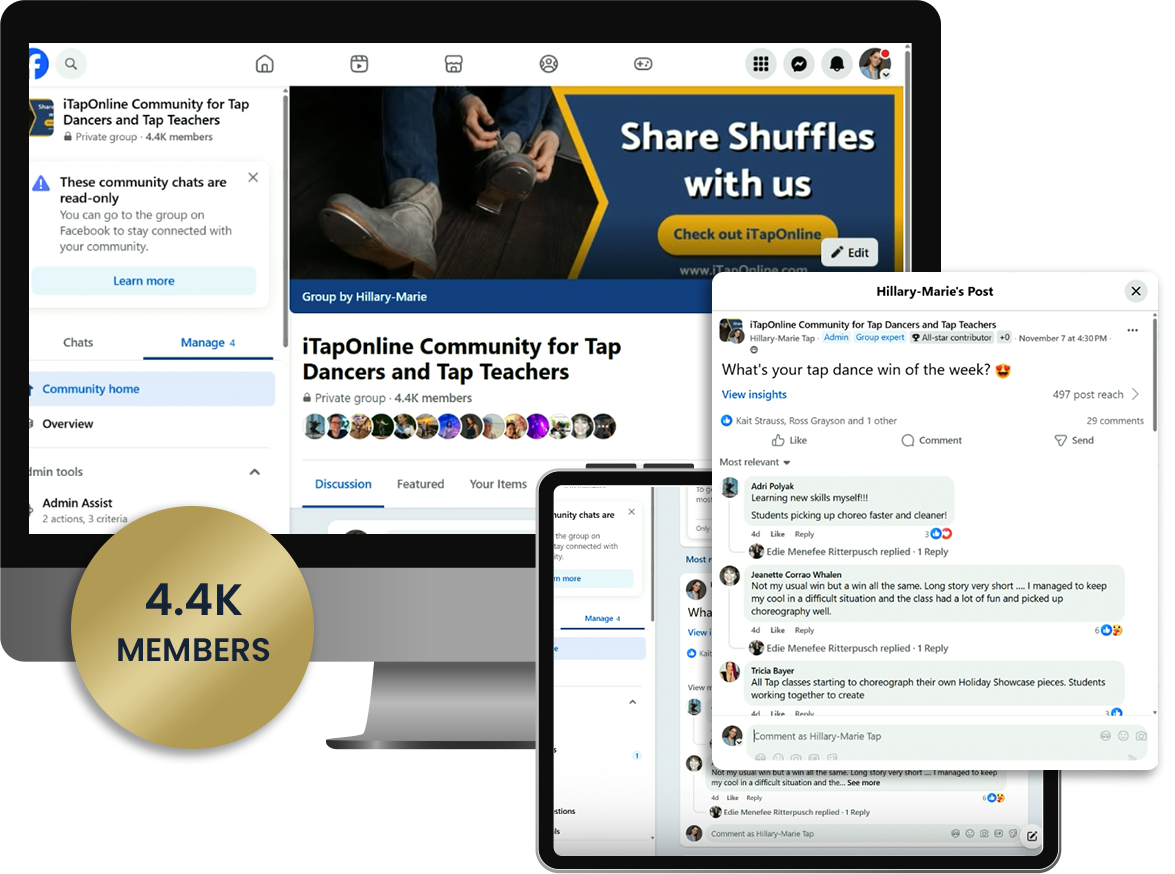
iTapOnline Community
Join a welcoming space to ask questions, share ideas, and talk all things tap dance with dancers & teachers from around the world.

Hi! I’m Hillary-Marie
I have the coolest job in the world
I have the coolest job in the world
I get to eat, breathe, and sleep tap dance every single day!
But the best part is sharing my love and knowledge of this art form with passionate tap dancers and teachers at all stages of their journey, all around the world.
Everything I teach is centered around the 5 Fundamentals of Tap Dance: Technique, Improvisation, Music Theory, History, and Practical Application.
I’m not just going to teach you a dance. I’m going to teach you HOW to dance.
Because tap dance is so much more than steps…
It’s culture. It’s rhythm. It’s movement. It’s A movement. It’s personal practice. It’s artistry. It’s creation. And it’s everything I want you to experience in your tap dance journey.
My vision is simple:
To make authentic tap dance education accessible to anyone, anywhere, so this beautiful art form can keep growing for generations to come.
I can’t wait to share shuffles with you super soon!
Like podcasts?
Like Podcasts?
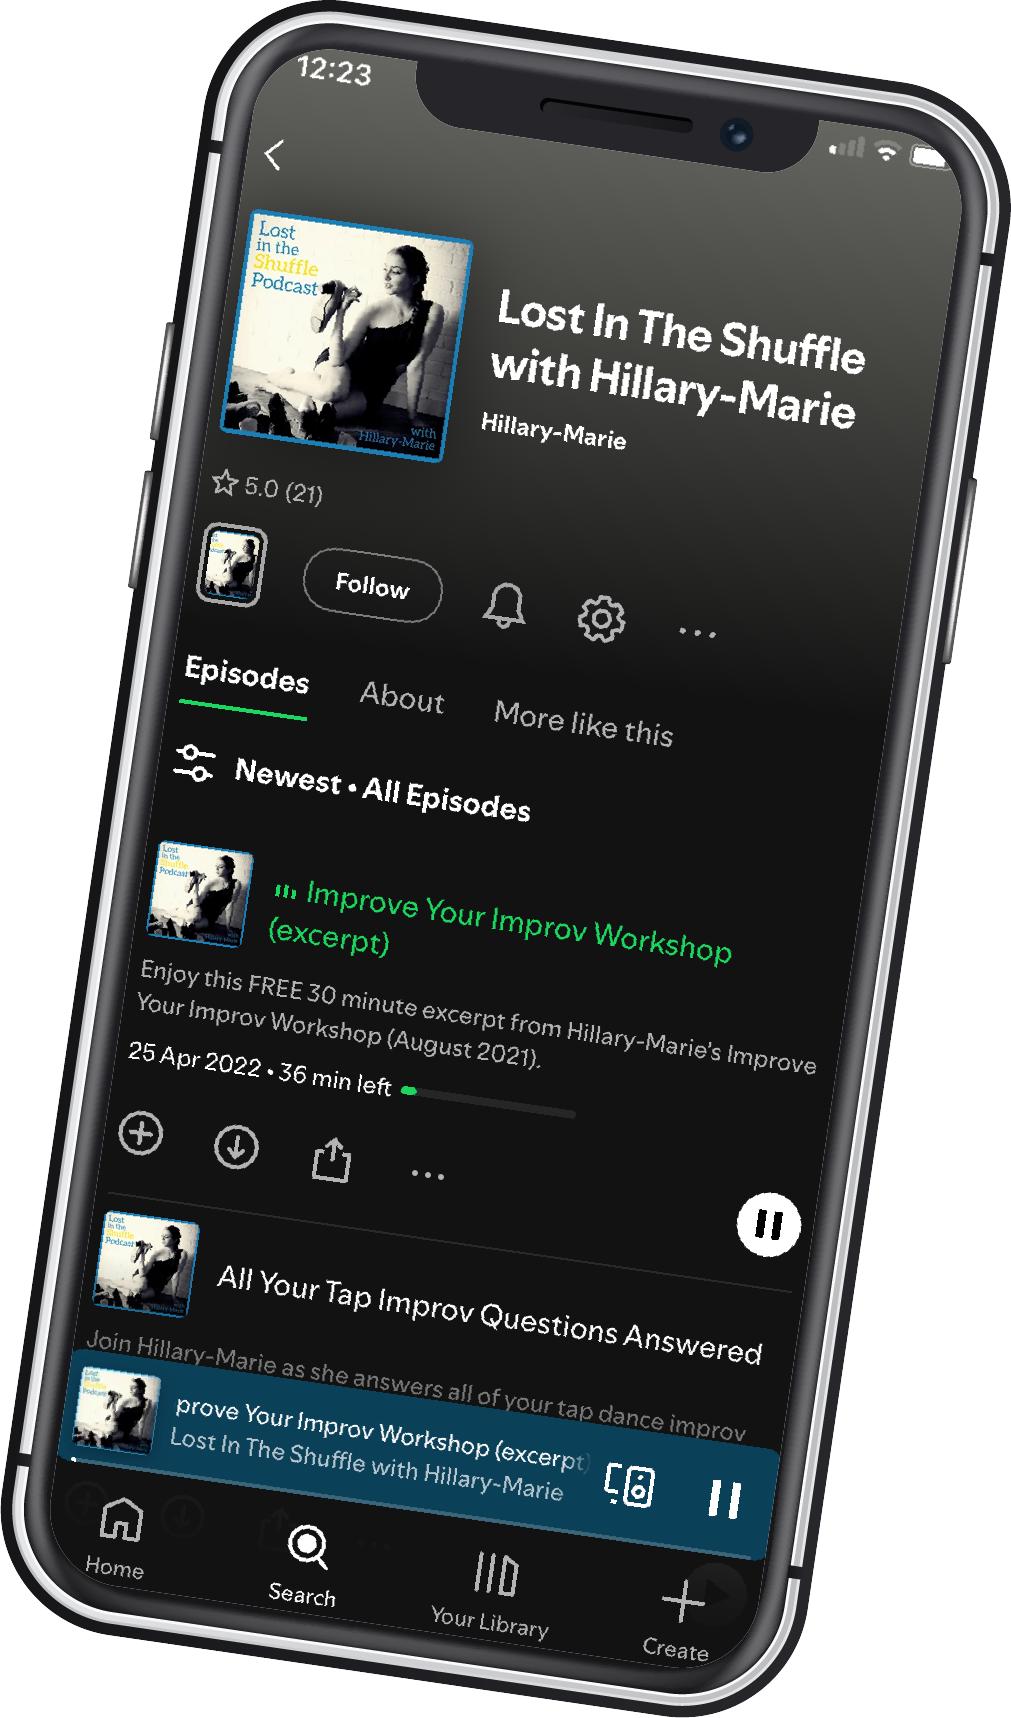
You’ll Love My Lost In The Shuffle Tap Dance Podcast
With over 100 episodes to explore, you’ll find practical tips, fresh ideas, and inspiration to bring more rhythm and joy to your tap dance practice.
Our Values
01
Authenticity
I promise to honor the roots of tap dance, carrying the stories, shuffles, and spirit of those who came before us.
02
Accessibility
I strive to remove barriers of geography and cost so every tap dancer and tap teacher can learn, grow, and connect.
03
The Journey
I will meet you where you are, helping you learn, grow, and build lasting confidence as you unlock the joy of tap dance
Follow Me On Social:


